Categories
Deployment

The easy way to run your own PageOneX deployment in heroku

This is an easy way to set up your own version of PageOneX in Heroku, and make the process easier than in the last post about this topic.
Heroku is a free hosting service to test web apps. The free service allows you to run your app with a limit in its data base.
If something is not clear, ask in the comments. We’ll updating this post.
You’ll need:
Let’s say you want to create your app named “pageonextesterx”. It will have the url: http://pageonextesterx.herokuapp.com.  “pageonextesterx” must be an unique name, no other app should have your chosen name. So change it!
Run the following commands in a terminal (tested with ubuntu)
git clone git@heroku.com:pageonex.git
It clones (downloads) the files for the deployment. You can also download them from: http://pageonex.com/pageonextester-heroku-1.0.1.zip
Create your app at Heroku:
heroku create pageonextesterx
For this you’ll have had to create your own Heroku account before and choose a name that no one has taken before.
Go into the created folder.
cd pageonex
Edit the git config file at .git/config
nano .git/config
or use
gedit .git/config
The file will open in the “nano” editor or “gedit” editor. You can also go to the hidden folder .git and open the “config” file.
Once inside you have to change “git@heroku.com:pageonex.git” by “git@heroku.com:pageonextesterx.git”. This will tell Git where to upload your files. If you try to upload (push) to “git@heroku.com:pageonex.git” you will not have the rights to do it.
Now you are ready to upload your app:
git push heroku master
You will need to upload your ssh key to heroku. You can find it (in ubuntu) at /home/.ssh/id_rsa.pub, and have to copy paste in your heroku account settings page.
To view hidden files you have to activate view of hidden files.
It will upload your files to your deployment. Now you need to run more commands:
heroku run rake db:migrate --app pageonextesterx
We are adding “–app pageonextesterx” is to specify which of the apps that you have it’s being used.
heroku run rake scraping:kiosko_names --app pageonextesterx
Go to http://pageonextesterx.herokuapp.com. You are ready to go!
Note: We hope to have soon our own deployment running at pageonex.com, so you don’t have to install your own. We are providing you with this manual to help run your own deployment. Running it in your computer is more difficult than doing it remotely in eroku, as you do no have to install rails, ruby or the gems associated with the project.
Categories
code Deployment

How to deploy PageOneX on Heroku and the required changes

We are going to deploy the latest version of the project on Heroku first and then we’ll see what we need to change if we want to deploy this version on local machine or a server.

Heroku deployment:

This link from Heroku dev center “Getting Started with Rails 3.x on Heroku” is covering the basics needed to connect to Heroku and deploy, which is a very simple process and it relies on git, and the three main commands is:

Creating the application on the Heroku to deploy on, you run this command from the project directory

 heroku create pageonex

And then push the project to the Heroku server via git

git push heroku master

Last command is to run the migrations, and that’s it

heroku run rake db:migrate

There is an important note, which is Heroku is using PostgreSQL for the production, so you will have to install PostgreSQL on you’r machine first, and the “pg” and run the bundle command before pushing the code

Installing PostgreSQL isn’t easy, and configuring it is much complex than MySQL for example, so my suggestion if you are not interested to use PostgreSQL (which you can do) so at least install it, so you’ll be able to install the pg gem and bundle the gems

The limitations of Heroku deployment, and how we are dealing with it:

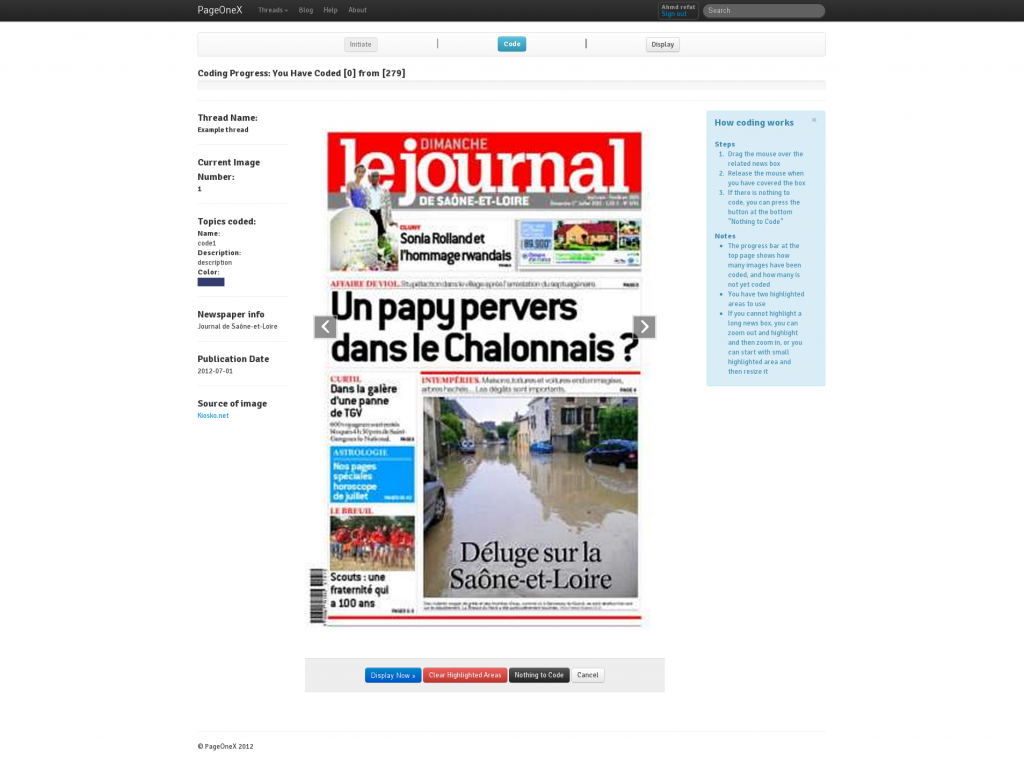
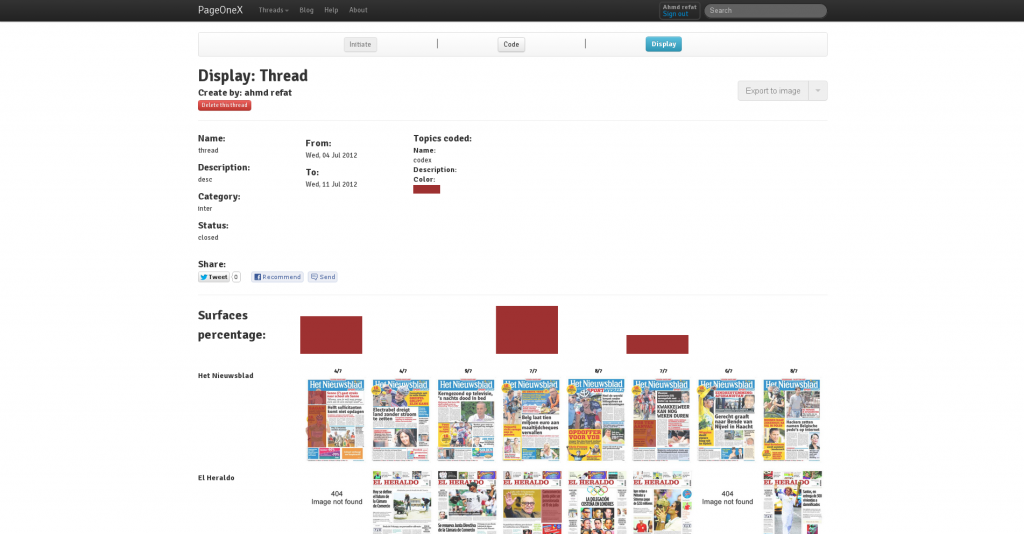
  • Disk storage limitation which was causing this images low resolution problem, and this is happening because Heroku remove any images after few hours of storing them, and if the thread contains a huge number of images, so it will fail.The solution for this problem was that we’ve decided not to store the images on the disk, and we will use the direct links from Kiosko to display the images, so because we are trying to fetch many images from the same domain, so Kiosko server send the 300px images instead of the 740px to reduce the bandwidth, but we’ve added the original link of the image beside each image, so if you want to see the full image, you can copy and past the link in a new tab, and we didn’t use a direct link, because it’ll cause the same problem because the request comes from the same domain
  • The processing power is very limited (because it’s a free version for sure) so we are not be able to use any image processing libraries in this version like “RMagick”The solution is to comment this library, and use other ways to get the images coordinates (this was the use of RMagick in the kiosko scraper) and not to use the elpais scraper, because it use RMagick to convert the pdf scraped file into images
We are going no to see how to remove the limitation changes in the Heroku deployed version to back to the original code, because we have commented the parts which can’t fit for Heroku, instead of creating new branch for this version, so we’ll list all the files which have to be change, and which parts will have to change exactly in this files
The files that we’ll need to change, and the lines inside each one related to this, to add more highlighted areas:
  1.  app/assets/javascript/coding.js
    line 116-117:  change this with a loop over all highlighted areas
    line 161: change this method to loop over all highlighted areas
    line 229: change this method to  loop over all highlighted areas instead of checking with if statement for each one
    line 338: change this as the line 229
    line 297: change this to loop over all highlighted areas
  2. app/assets/javascript/display.js
    line 43: change this method to loop over all the highlighted areas
  3. app/views/coding/display.html.erb
    link 150-152: replace this two line with any number of highlighted areas
  4. app/views/coding/process_images.html.erb
    link 96-98: replace this two line with any number of highlighted areas
  5. app/controllers/threads_controller.rb
    line 133-136, 278-285: change this with any number of highlighted areas
The files that we’ll need to change and the lines inside each one related to this to, to switch to the older version, where we download the images and store them:
  1. lib/scraper.rb
    line 4: un-comment the RMagick library
    line 29-35: un-comment this part were we open the images links and path their content to saving method
    line 37-39: delete this part
    line 118-126: un-comment this part which save the downloaded image to the disk
    line 130-136: delete this part
  2. app/controller/threads_controller.rb
    line 95-96: un-comment this part, to get the images size
    line 98-100: delete this part
    line 105-106: un-comment this part
    line 234-235, 243-244: un-comment this part
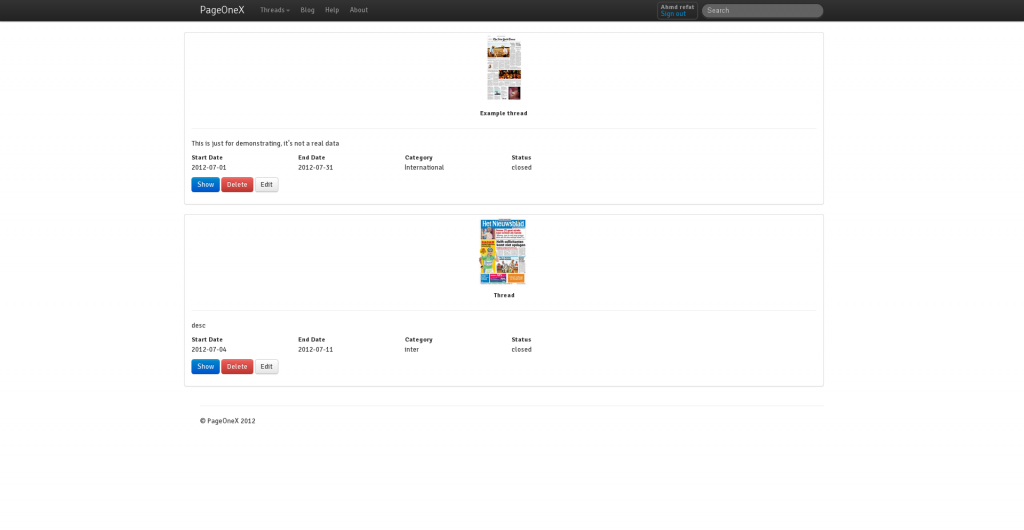
  3. app/views/threads/index.html.erb
    line 21: un-comment this to get the images from the local storage
    line 23-25: delete this part
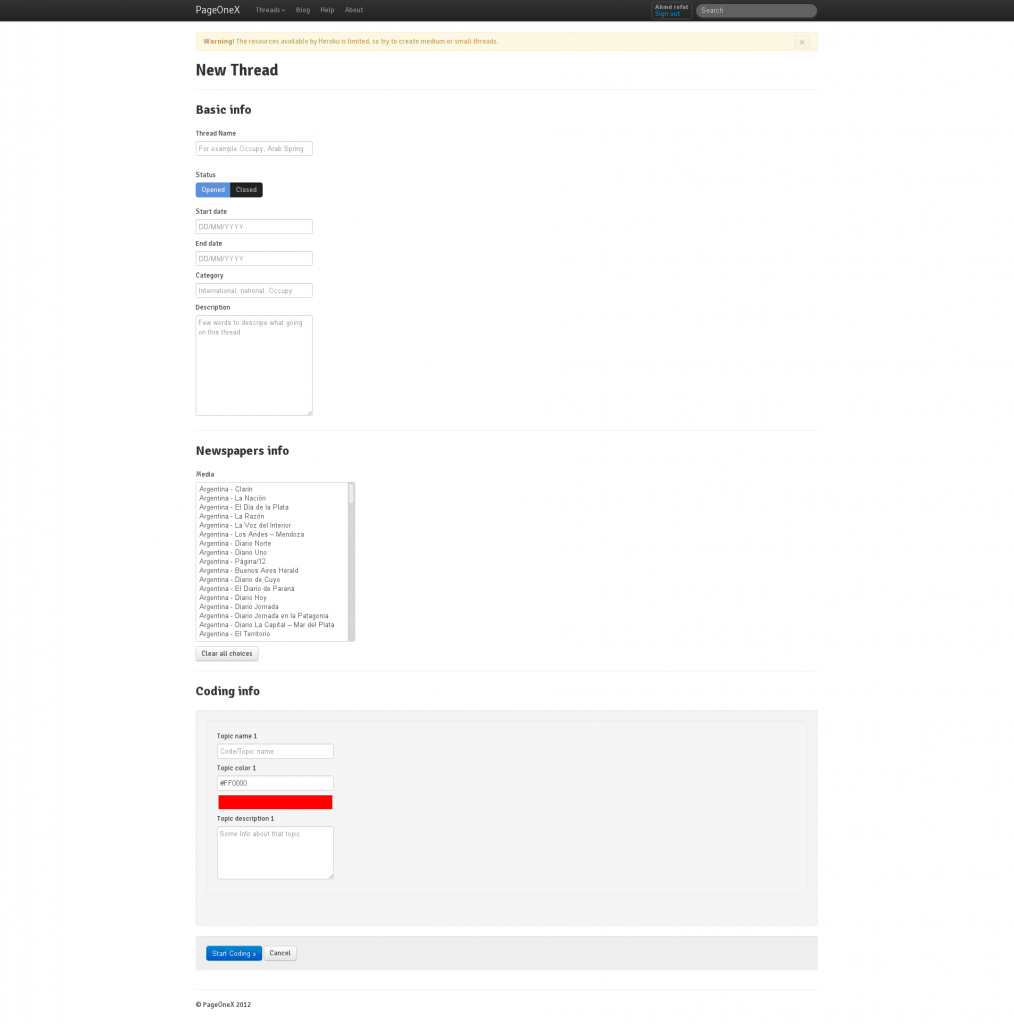
  4. app/views/threads/new.html.erb
    line 7-10: delete this part 
  5. app/views/coding/display.html.erb
    line 135: un-comment this line
    line 137-148: delete this part
  6. app/views/coding/process_images.html.erb
    line 60, 74: un-comment this line 
    line 62-68, 76-83: delete this part
  7. app/assets/javascript/coding.js
    line 216-219: delete this part
  8. app/assets/javascript/display.js
    line 141-144: delete this part


Notes on the pending feature, and how they can be implemented

  • Exporting the display result as an image
    The gem we’ll need is IMGKit, and in the coding controller we’ll use this gem to convert the rendered view into image
  • Create user profile pages
    We’ll override the user controller of Devise, and add a view for the user profile pages
  • Implementing tags
    To implement the full featured tags we’ll need to use ActsAsTaggableOn

Categories
Uncategorized

PageOneX Version 1.0 – An Overview

We have just release the version 1.0 and deploy it on Heroku http://pageonex.herokuapp.com/ we’ll walk you through this release and the features available and which will we planning in the next release.

Home:

At the top you can see the main bar, and the important item is the first one which “Threads” menu, that give you a link to all your threads, and all the threads that have created on application

Threads:

Listing all your threads, and you can show, delete or edit them, and you can also browse all threads on the application, but you’ll just be able to show them

New Thread:

Creating a new thread requires few information about that thread, most important fields is start date, and end date, which depend on status option, if it’s an opened or closed.

What is meant by “Opened” and “Closed” threads:

  1. Opened thread: This option means each day PageOneX, will scrape the latest newspapers front pages related to the thread automatically
  2. Closed thread: This option means the created thread will not be updated and PageOneX will not scrape any newspapers front pages automatically

And then you can select multiple newspapers, and the topic name and color.

Coding:

Coding images, or in other words highlighted related news, there is multiple parts in the coding view, first at the top you can see is the progress bar which is showing; how many images that you have coded, and how many are left.

Then; on the left side there is information about the current image, and the codes, and on the right side there is some helping tips

How coding works

Steps

  1. Drag the mouse over the related news box
  2. Release the mouse when you have covered the box
  3. If there is nothing to code, you can press the button at the bottom “Nothing to Code”

    Notes

  • The progress bar at the top page shows how many images have been coded, and how many is not yet coded
  • You have two highlighted areas to use
  • If you cannot highlight a long news box, you can zoom out and highlight and then zoom in, or you can start with small highlighted area and then resize it

Display:

Showing the coding result with bar chart visualization, this view is divided in two main parts, first part which is at the top, contains the basic info of the thread and a button for downloading the thread in image form, then the part at the bottom consist of two parts the first part is the bar chart of the surface percentages, and the second part is matrix of all the images with the highlighted areas.

Features will be available in the next version:

  1. Allow multiple user to code in the same Thread
  2. Allow multiple topics code
  3. Users will be able to create more than two highlighted areas
  4. Scrape over multiple months